For this month’s newsletter, I’ll discuss a few of the principles of photography. Specifically, the creative relationships between shutter speed and aperture. Over the years, I’ve attended a number of presentations from other photographers in which they discuss aperture and shutter speed, and I’ve taught aperture and shutter speed in my workshops since day one. The typical approach is to show a set of images demonstrating depth of field and motion. And then relate the settings required to get that effect to the picture. Then when the teacher/photographer starts talking about how shutter speed and aperture relate, they start diving into math, exposures, stops of light. While this is a good approach and important as far as the craft is concerned, it occurs to me that every presentation about shutter speed and aperture that I’ve seen lacks a discussion about how the different settings relate creatively. So, over the last few weeks, I’ve been meditating on how to teach this better than the normal way of teaching this, and about how I can add this new method to my Lake Superior Photography Workshops.
To do this, I mapped out aperture and shutter speed on a simple axis with the extremes marked with the effects that can be achieved using either shutter speed or aperture. When I use this in a workshop slideshow, I’ll first build a basic level of understanding of the general principles of what shutter speed and aperture do and then use a simple progression to arrive at the whole concept. The difficult part of grasping how shutter speed and aperture relate is that they relate in two different ways. They relate:
- Inversely in the amount of light that they let in. In that when you let in less light through one setting, you must let in more light through the other to arrive at the same exposure, i.e. brightness. <– This is usually what teachers concentrate on, because it’s easier to teach this.
- In exponentially different ways creatively.
Basically, on the creative side shutter speed controls the look of motion in the image. It can either stop or blur action or do something in between. Because the speed of motion varies, you might get a motion blur at one setting when a race car speeds by or you might get stopped action at the same shutter speed when a kid jumps into the air and you caught her at the apex of the jump. Aperture controls depth of field, which is how much of the picture appears to be in focus. You can have everything look like its in focus or very little that looks in focus or somewhere inbetween. This changes as you change focal lengths and it changes as you change your distance from the subject.
With those two concepts in mind, I mapped depth of field on the horizontal axis and motion effects on the vertical axis.

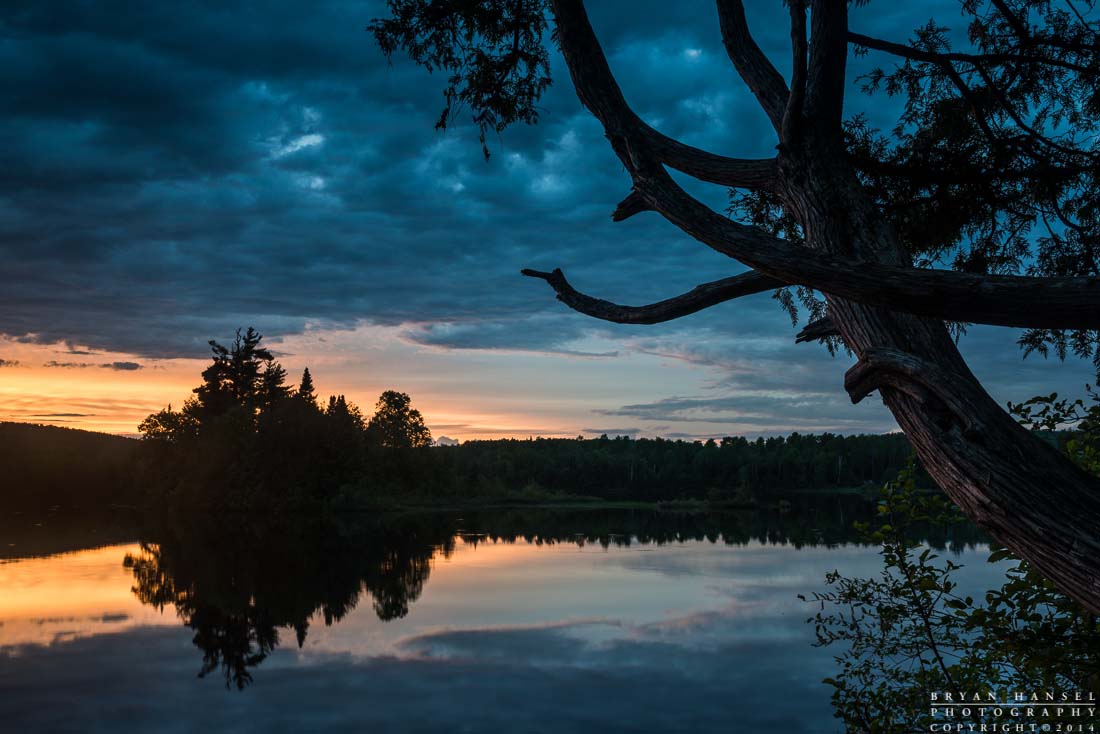
In the upper left quadrant, you’d have pictures that have motion blur and very little in focus. In the lower left quadrant, you’d have pictures that stop the action while limited the depth of field. I can think of a couple of items that fit. In the top, a blurry abstract. In the bottom, a shot with a biker and lupine in which the wind blowing and the motion of the biker is stopped. In the upper right quadrant, we have pictures that have everything in focus with lots of blurred action, such as a seascape shot long exposure that blurs the water and clouds. In the lower right quadrant, we had everything in focus and time stopped. This could be a shot where a waves action is stopped mid air in a seascape. Below, you can see these examples.

As I add this to my workshops, I’m going to add more photos that demonstrate each quadrant and points in between. If the class decides that they want an assignment, this is an easy and important one, because finding a photo that fits into each quadrant can stretch and grow a photographer’s skills.
One of the things that I love about being an outdoor photography educator is that I can continuously dream up new lesson plans. This allows me to keep my workshops fresh, because it’s likely if you’ve been to one of my workshops in the past, you won’t see the same slideshow. I’m always adjusting and building upon earlier slideshows and classroom topics to stay not only fresh but to make sure that new and returning students are getting new ideas and learning how to think photographically, engage their creativity and imagination. Over the next year, I’ll be phasing this new lesson plan into my slideshows. I hope you can join me at some point to see the full version.
Leave a Reply